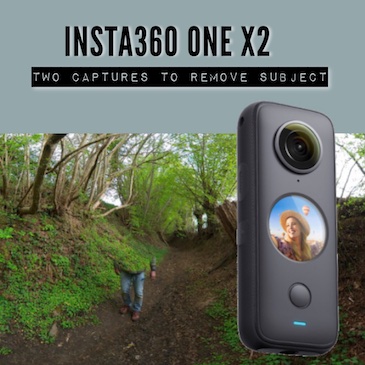
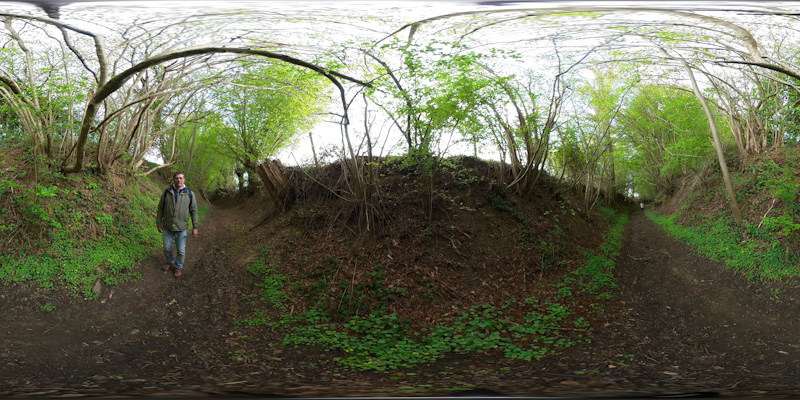
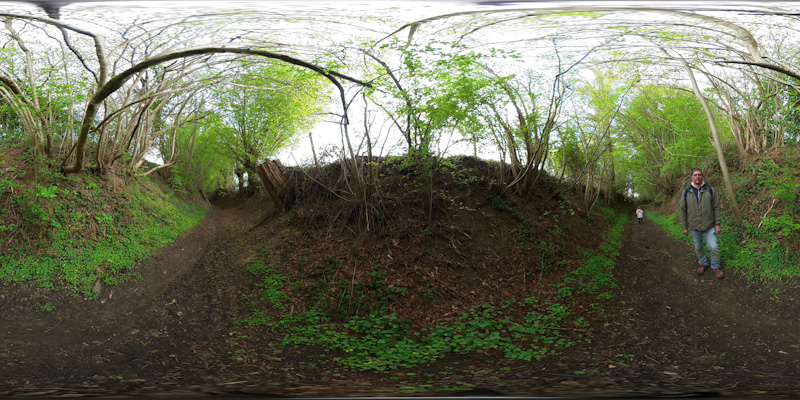
The ONE X2, like all 360 cameras, captures all directions at once. If you want to take a photo of a place without being in the image, you have to compete for tricks not to appear there. In my article Remove subject with one capture, I described a very simple solution based on a single capture. I present here a second solution, based on double capture, which covers situations where the first case is not applicable.
PRINCIPLE
The approach described in my previous article is based on a single capture. However, there are situations where it is not very suitable: for example, if the capture at height is not possible, or if the ground has geometric elements. The second approach is to position the 360 camera on a pole and tripod, then take two captures. The camera remains stationary between captures, and I am the one who moves to appear in different places in the two images. A simple touch-up will effectively erase the photographer.
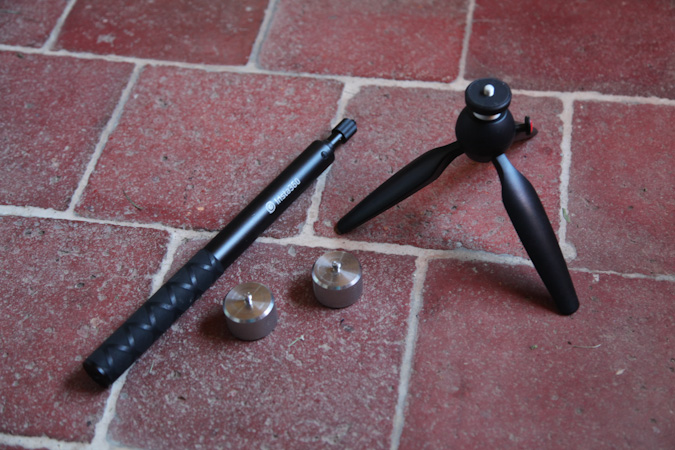
Additional equipment required is a pole and a mini tripod. In order to stabilize the whole thing and prevent your 360 camera from falling, I recommend that you weight the tripod to stabilize it.
STEP 1:
Position your ONE X2 camera on the pole, extend it as far as possible and fix it on the tripod. For captures, the camera must be with a trigger delay (typically 3 seconds), the trick is to take two identical photos and move around to be in two different places in the image.
STEP 2:
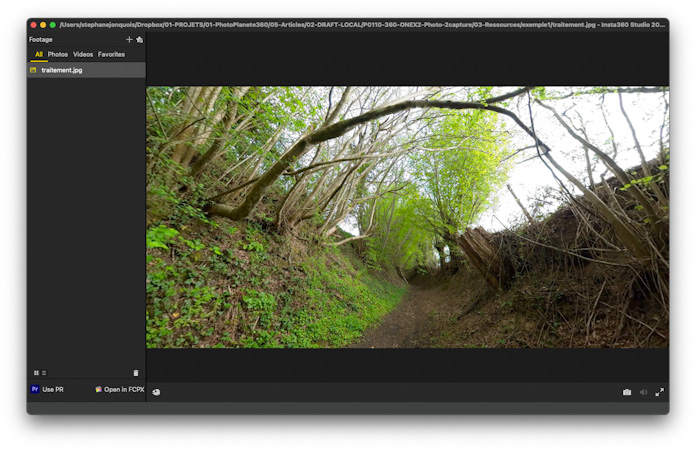
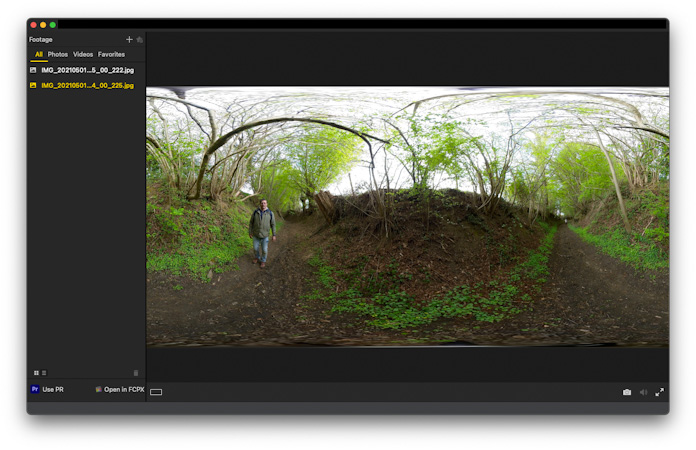
Transfer the photos to the Insta360 desktop application, and export them as a 360 photo in jpg format. There should not be a single displacement for the images to overlap perfectly.
STEP 3:
As mentioned in my previous article, I use Affinity Photo software, it is both very affordable and very feature rich.
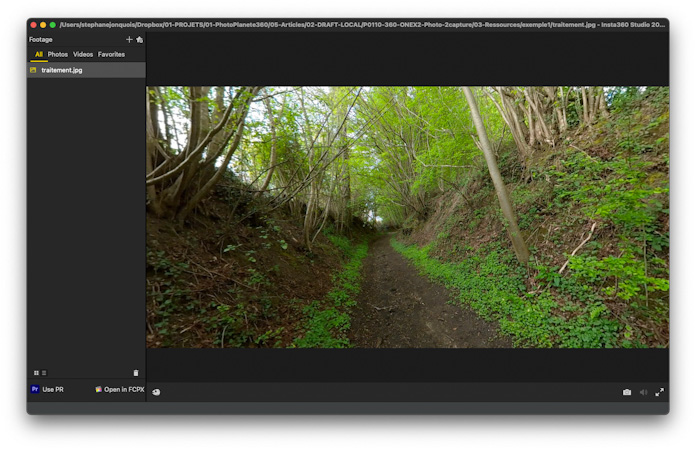
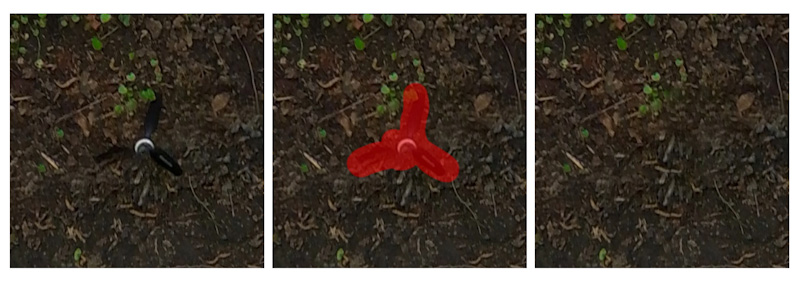
To begin with, both images must be loaded into Affinity. I copy one of it as a layer in the second frame.
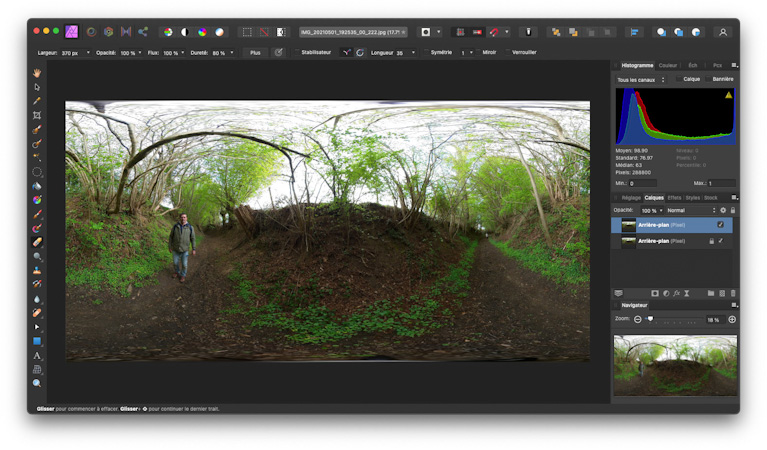
To erase the photographer, just use the eraser. The erased area is directly filled in by the image of the layer below. The edges of the erased area are not perceptible.

For erasing the tripod, the smart replacement feature (Inpainting Brush Tool) will usually work very well. If the floor has geometric elements, erasing will generally be more difficult.
STEP 4:
Finally, the image must be exported as a flat image, it can be used in any 360 representation software, and in particular by the Insta360 application.