How to hold your 360 while travelling? One of the interesting aspects of 360 cameras is the possibility of seeing yourself in your environment, as if the images were captured by another person. This is made possible by the disappearance of the fixing pole. The camera is floating around you. How to hold the camera with the pole to have the best rendering?
SELFIE CAPTURE
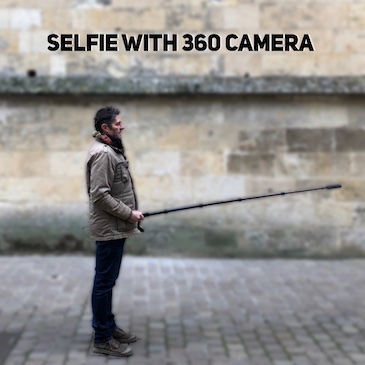
Taking a picture of oneself, which is called selfie, has become more democratic with the generalization of smartphones. From the outstretched arm or a small pole, the phone becomes a useful accessory for taking a picture. A possible extension is to use a 360 camera instead of the phone. This allows you much more freedom since there is no need to worry about framing. Also, the trick to make the pole invisible will make your image more impactful. One of the things I find most interesting is seeing the environment around you. I find it very immersive to see each other again in a remarkable place, the effect is stronger when you see yourself in the scene rather than seeing the scene without anyone.
SEVERAL OPTIONS TO HOLD THE CAMERA
We’re going to look at the 5 most common ways to hold your 360 camera with a pole. They are illustrated here with photos, but this of course applies to the video. For a trip, this is also the most common use, what could be more interesting than reliving your experience of wandering around your favorite city or a seaside at sunset, seeing yourself moving directly in the premises.
In this article, I suggest you examine the 5 most common positions to hold your 360 camera to see yourself in your environment. These renderings are particularly interesting during a trip, so you can see yourself evolving in the places, in view from behind, from above and from the front.
 |
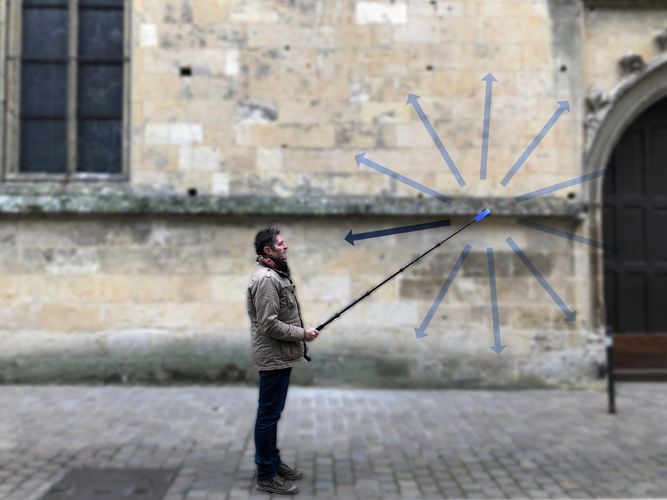
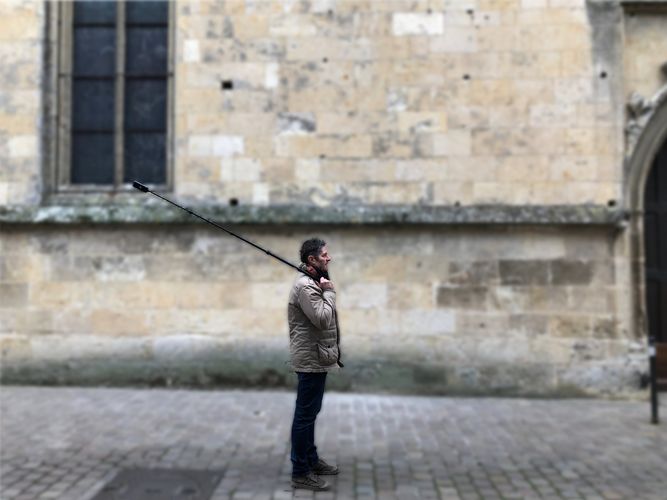
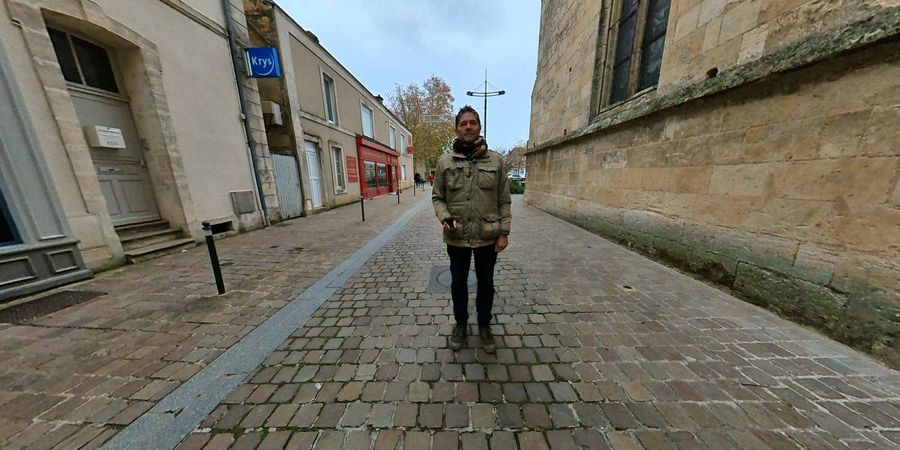
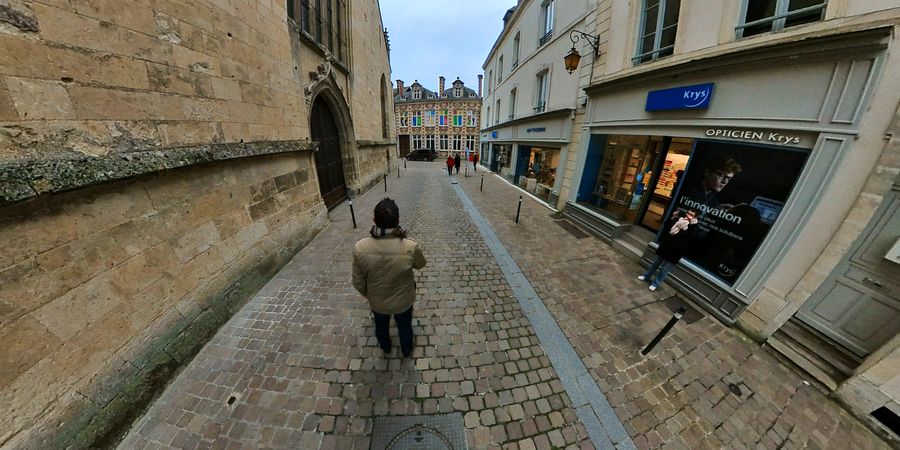
Position 1: The camera is directly in front of youThe arm that holds the pole, as well as the hand, remain along the body. The pole is kept horizontal, it will be better to have the camera in line with the eyes. |
 |
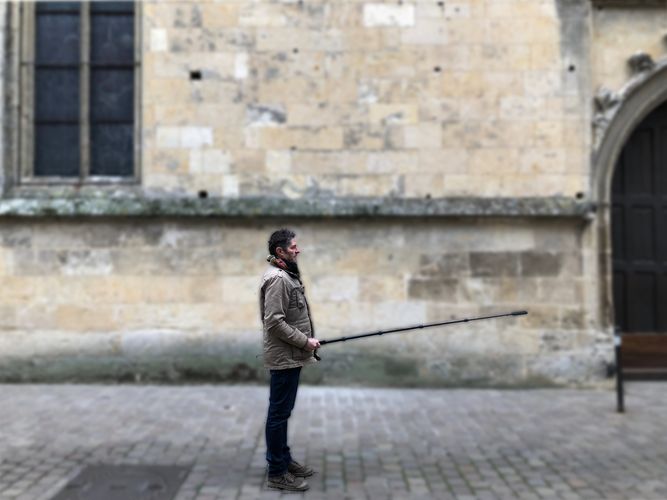
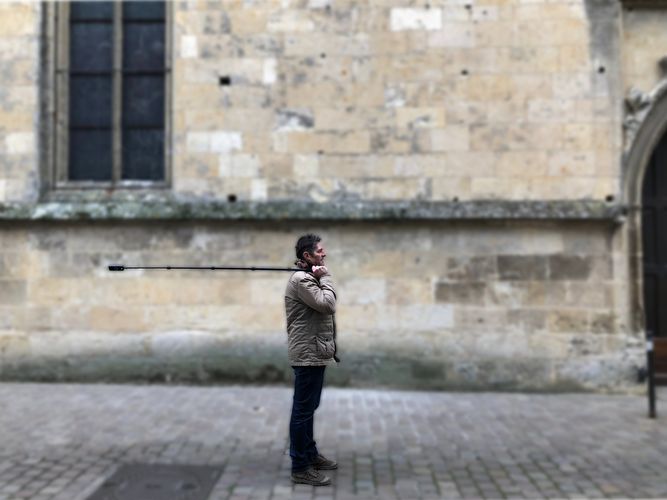
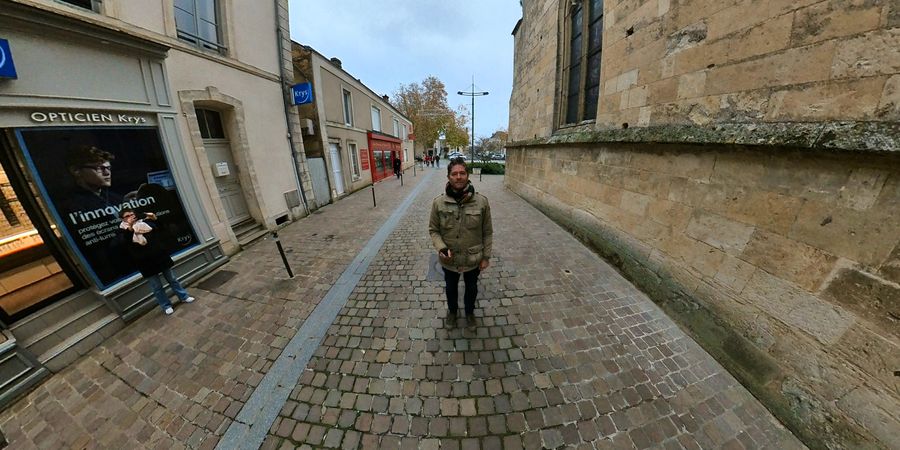
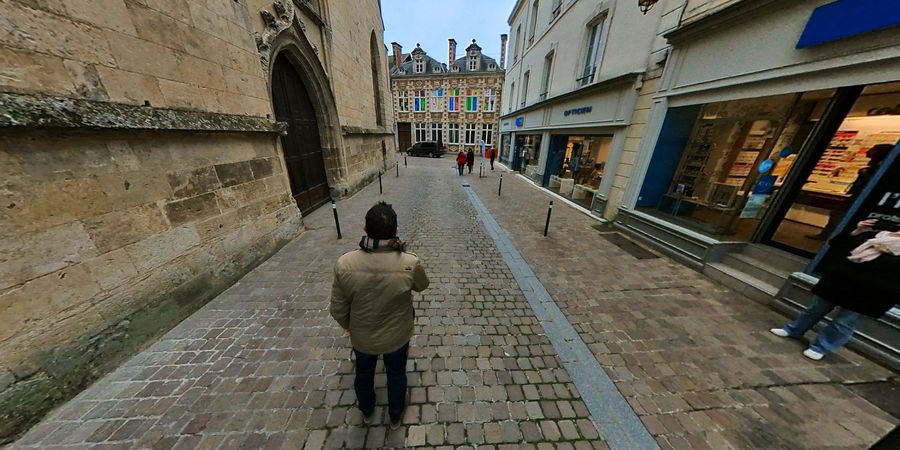
Position 2: The position is raised in front of youAs for the previous position, the arm holding the pole, as well as the hand, remain along the body. The boom is held up so that the camera is slightly above your head level. Thus, the point of view of the camera is raised, and thus makes it possible to better restore the places around the photographer. This is one of the most interesting positions. |
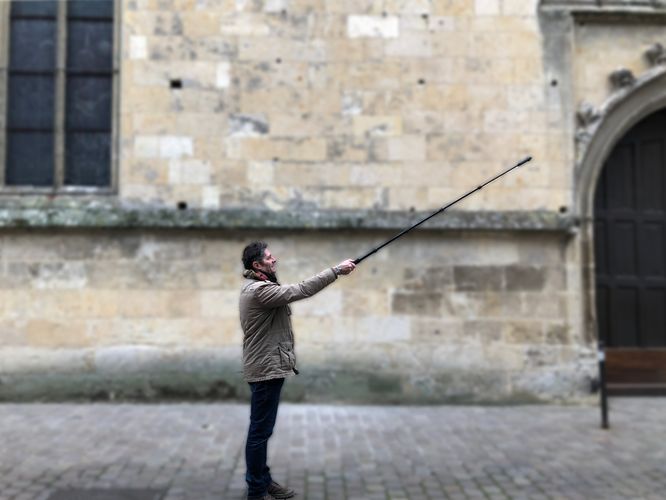 |
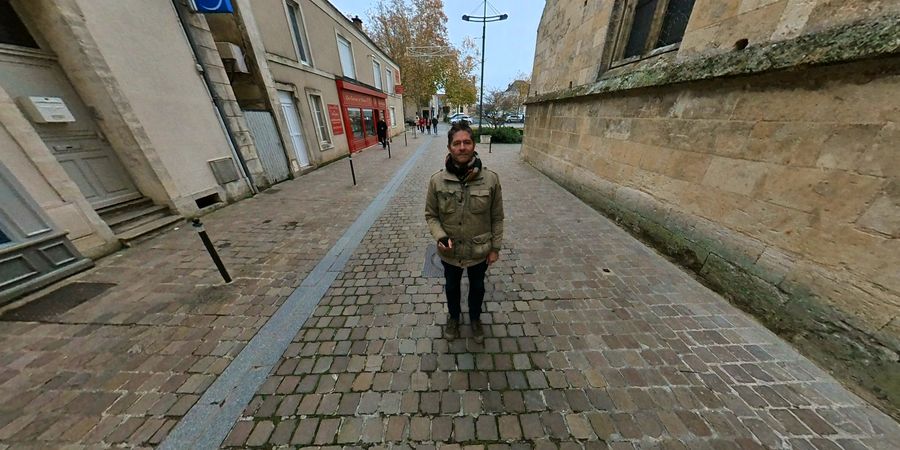
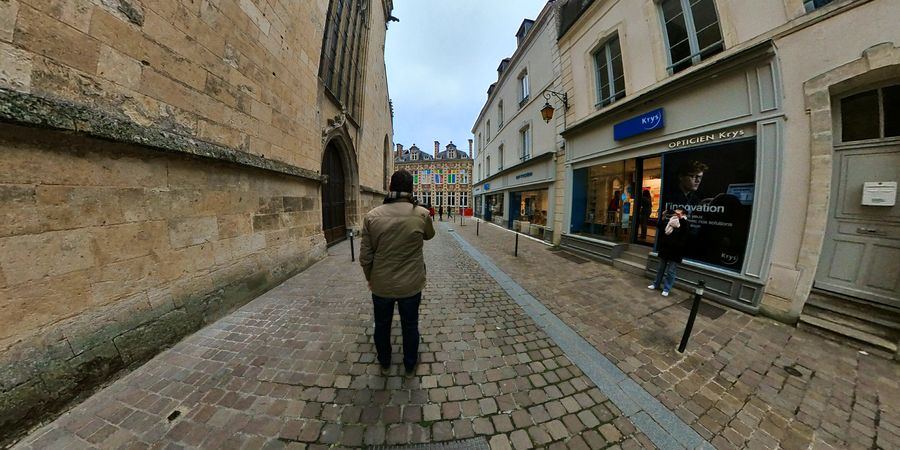
Position 3: The camera is strongly raised in front of youContrary to the previous position, the arm is fully extended to move the camera as far away as possible. She finds herself still high and thus embraces an even wider field around herself. The capture of her environment is thus more pronounced, but at the cost of a less natural position since the outstretched arm is visible. |
 |
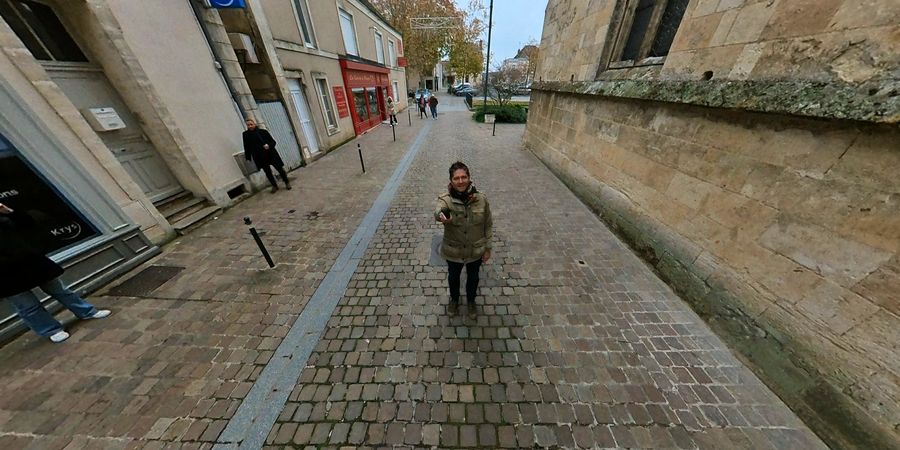
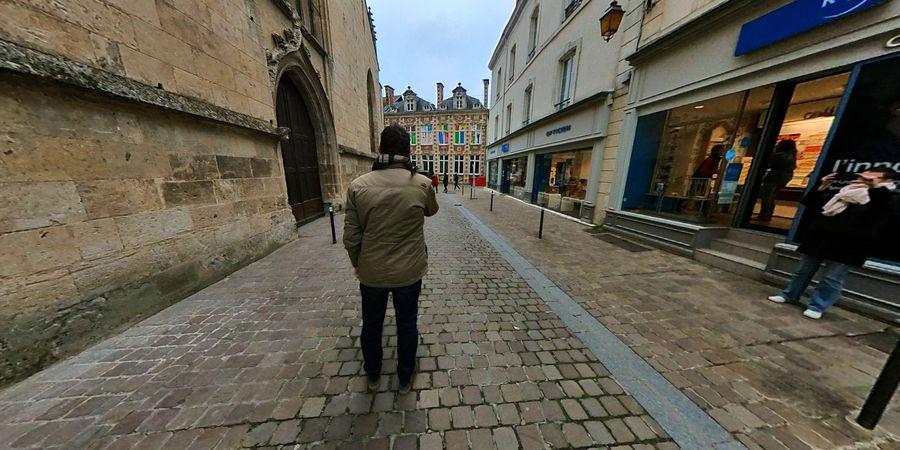
Position 4: The camera is raised behind youThe pole is now raised so that the camera has a more bird’s eye view. This allows you to better situate yourself in the environment. In my opinion, this is a very interesting view on a trip or discovery walk since it clearly transcribes the presence of the person in the place. |
 |
Position 5: The camera is directly behind youThe pole and the camera are held behind you, completely parallel to the ground. Since the camera is quite low, this results in its own strong presence in relation to the surroundings. |
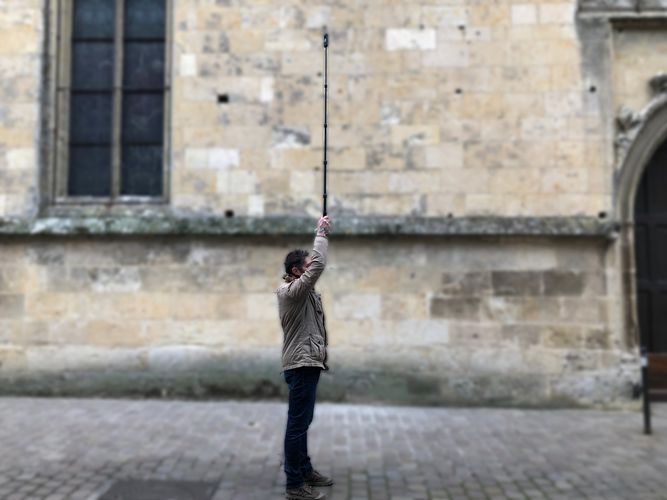 |
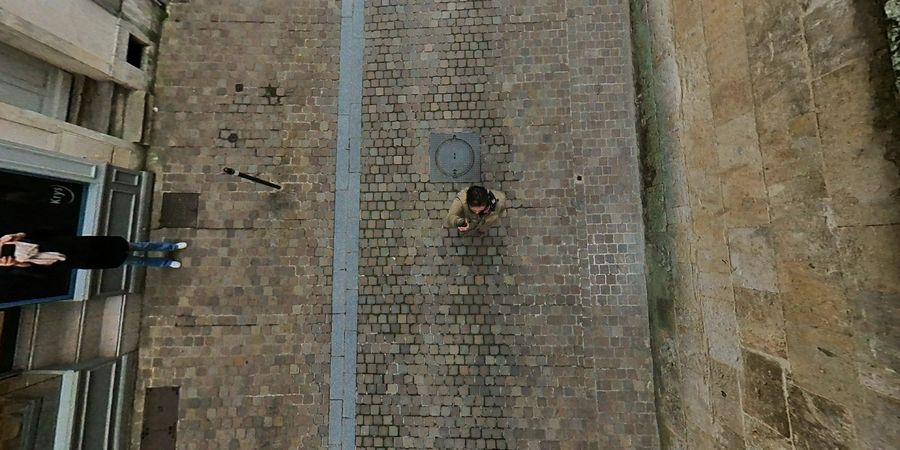
Position 6: The camera is directly above youThe camera takes a capture above you, it is held completely vertical with the outstretched arm to reinforce the “drone” style view effect (#NoDroneNoProblem). |
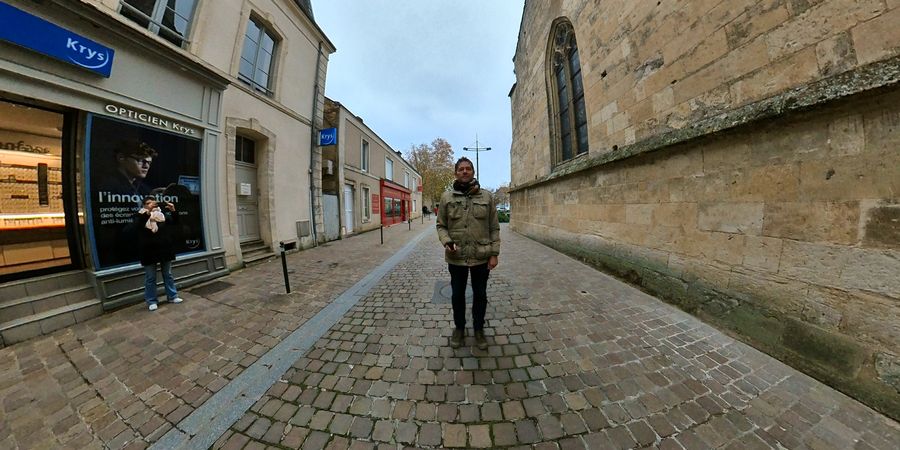
RESULTS
Position 1: The camera is directly in front of you
Position 2: The position is raised in front of you
Position 3: The camera is strongly raised in front of you

Position 4: The camera is raised behind you
Position 5: The camera is directly behind you
Position 6: The camera is directly above you

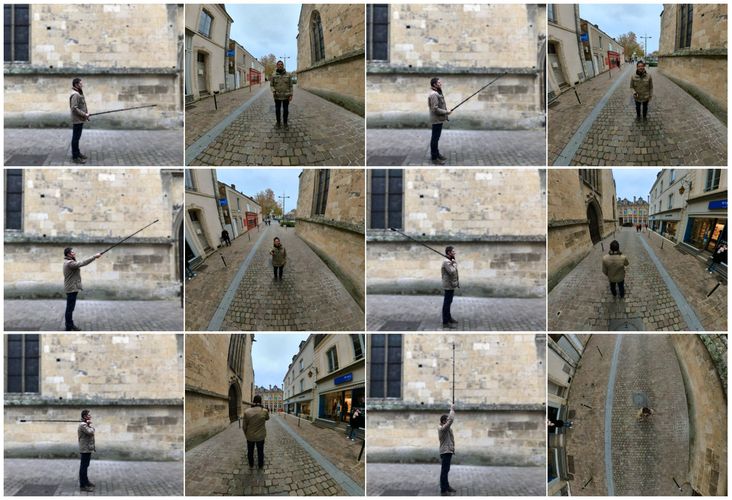
COMPARAISON
To compare the results, here is a mosaic of the images:
TO CONCLUDE
With the objective of seeing yourself evolve in an environment (and not just taking a selfie, in this case you just need to take your smartphone), my recommendation is to use postures 2 and 4 for which the camera is in the raised position . The images thus obtained make it possible to keep a natural position, while restoring the places.