The ONE X2 is a consumer camera perfectly usable for the creation of virtual tours. Here I offer you a simple process in several perfectly described steps to create your virtual tours very quickly. The viewer software I use is Pannellum, it looks great and is completely free.

PREREQUISTES
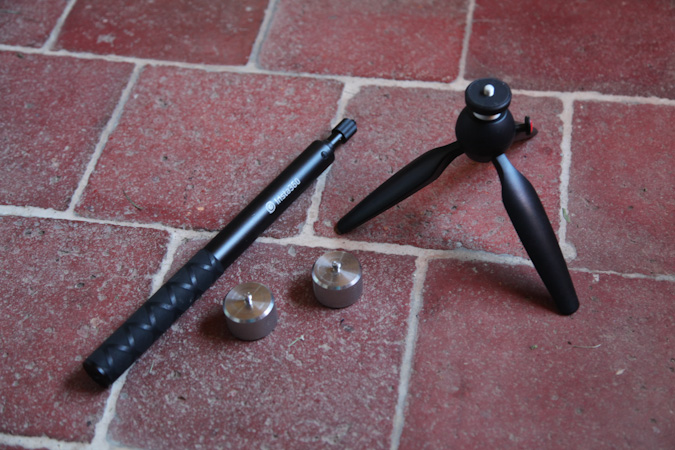
To capture the images, you need a 360 camera, a mini tripod, and a selfie stick.
STEP 1 – CAPTURE
There’s nothing special about capturing each 360 image here. If you don’t want the photographer to appear in the image, you can use the erasing techniques I described in my Mono Capture Erasure and Dual Capture Erase articles.
Once captured and possibly processed, the final image must be exported in order to be available in equirectangular projection and in jpeg format.
STEP 2 – CONFIGURATION OF THE REPRESENTATION
To test the inclusion of your image, it must be copied and accessible by your server. the URL of the image must then be added to the Pannellum configuration. For example, activation via iframe can be done with a code of this type:
<iframe style="border-style: none;" src="chemin-pannellum.htm#panorama=chemin-image.jpg" width="600" height="400" allowfullscreen="allowfullscreen"></iframe>
For more possibilities, I advise you to define a configuration with a JSON file. The range of possibilities is then much wider, and is also necessary to define a virtual visit. Example file:
{
    “default”: {
    “firstScene”: “img0”,
    “author”: “panhobby”,
    “sceneFadeDuration”: 1000
},
"scenes": {
    "img0": {
        "title": "Entrée",
        "hfov": 110,
        "pitch": -2.8,
        "yaw": 300,
        "type": "equirectangular",
        "panorama": "chemin/00.jpg",
        "hotSpots": [
            {
                "pitch": -5.29,
                "yaw": 260,
                "type": "scene",
                "text": "Intérieur 1",
                "sceneId": "img1",
                "targetPitch": 0,
                "targetYaw": 5
            }
        ]
    },
    "img1": {
        ...
    },
    "img2": {
        ...
    }
}
With this configuration, there is one section per image, for each one, the pitch and yaw parameters define the default central position of the image (it must be set for the first image).
Then you can define control points or links from one image to another in the hotspots section. The position of the control point is defined by the pitch and yaw parameters. The scenedID parameter is the name of the image to be displayed upon activation of the checkpoint, and finally the targetPitch and targetYaw parameters are the central direction to be displayed in the new image.
Although this type of configuration is very simple, it is not easy to know the coordinates in the image. To do this, I advise you to enable debug mode by setting the hotSpotDebug parameter to “true”. Once activated, for each click with the mouse in the image, the pitch and yaw coordinates are displayed in the browser console. This allows you to get the coordinates of the center point of the image, which you then need to set in the yaw and pitch parameters, or targetYaw and targetPitch.
By renewing these configurations for each of the images, you create links between the images which constitute your virtual visit.
In this example, I have configured only two images that are linked together from the starting image to the second image, and vice versa. To reduce the loading time of the images, they are in resolution reduced to 50% of the maximum resolution of the ONE X2 and with a relatively high compression rate.
CONCLUSION
In this article, we saw how to configure Pannellum to realize virtual tours of some images. As you will have noticed, the task is not extremely easy for a large number of images. In this case, the use of more advanced software, offering a graphical configuration interface, but also more expensive, will be more appropriate.
Note that I have only shown a simple configuration, the Pannellum software has many more customization parameters. For a complete list, please visit the software website as well as the website of its developer Matthew Petroff.